Multiplatform app target
support many destinations across multiple platforms
common codebase and settings
new ways to conditionalize individual settings and files
Configure project
Support many destinations across multiple platforms
recommended especially for SwiftUI or Mac Catalyst projects
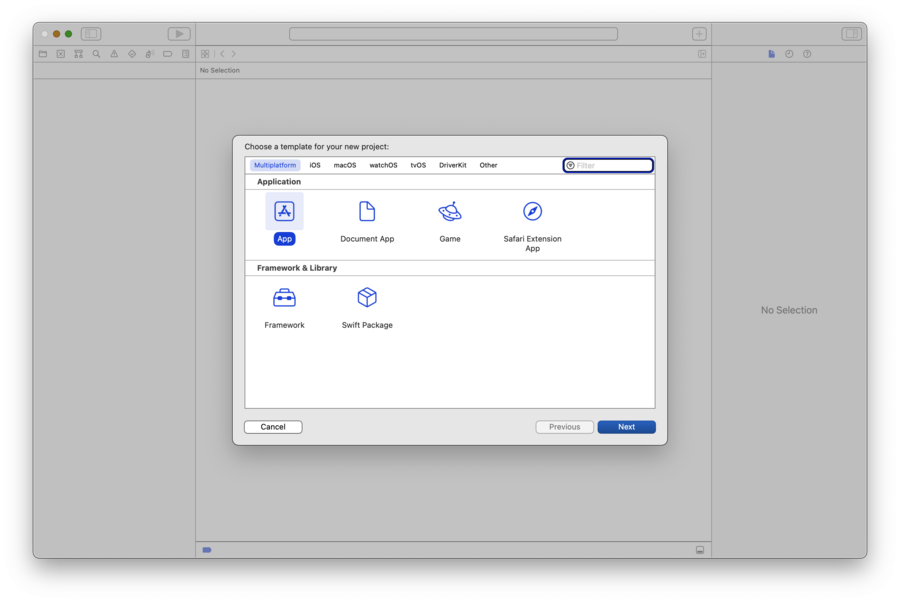
if you’re starting from scratch, use the improved Multiplatform App template
The multiplatform app template uses SwiftUI for its lifecycle and interface, which starts us out with a target configured by default to support iPhone, iPad, and Mac.
it’s also possible to upgrade an existing codebase:
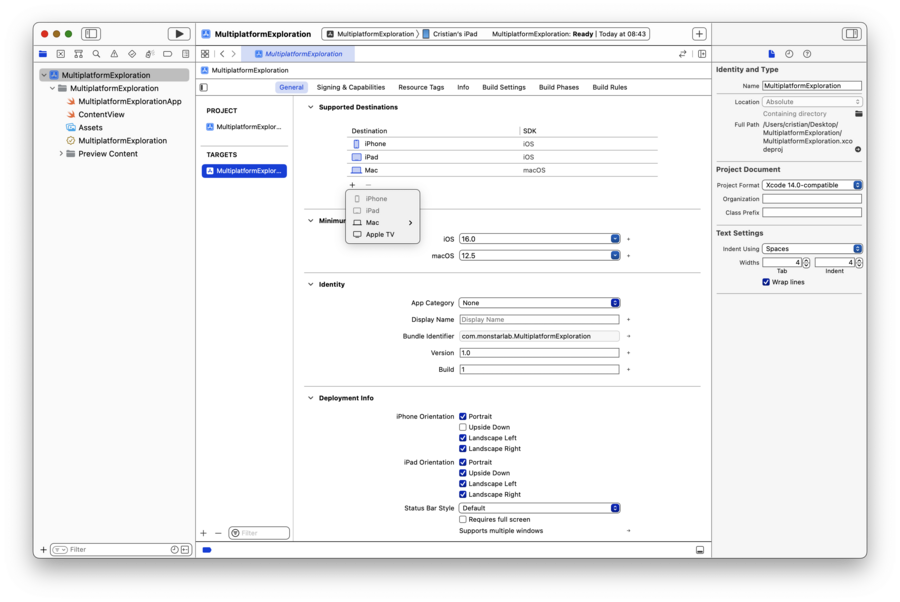
in Xcode, open your project editor and select the app target
in the
Generaltab, we can see a list of all the destinations our app supportthere we can add as many destinations as we like
Choosing between Mac and Mac Catalyst
If your app makes heavy use of UIKit or Storyboards, Mac Catalyst would be a great way to convert an existing iPad app into a compatible Mac app. If your app uses SwiftUI, “Mac option” makes the best choice to craft our, well, Mac app.
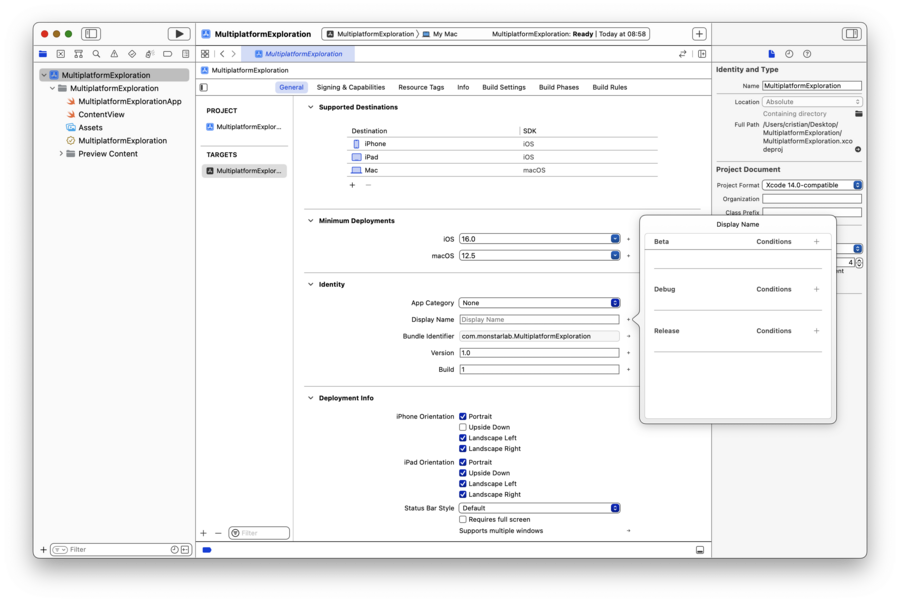
Custom configurations “Display Name” pane
Custom configuration in place editor
Signing Certificate and Provisioning Profile
With Automatic Signing turned on, the necessary Signing Certificate and Provisioning Profile for the Mac is generated on my behalf. All destinations will use the same bundle identifier by default, that means when published to the App Store, they will be made available for Universal Purchase.
Conditionalize individual settings and files
Most settings in the target editor now come with a Conditions option
Conditions lets us specify different values based on which SDK is being targeted (macOS, iOS, ..)

App capabilities that can be shared across different destinations will get combined into a single entitlements file
Resolve build issues
Framework availability
Quick way:
#if canImport(ARKit)
import ARKit
#endif
This is useful if I don’t want to manage a list of known platforms a framework is available for and simply say if it’s not available, don’t include it.
If, instead, we want to entirely exclude a file entirely when targeting a specific SDK:
open your target editor and go to the Build Phases tab
select your file and, in the Filters column, specify for which SDK(s) this file should be included
API availability
Use the #if os(iOS) compiler macro
#if os(iOS)
@Environment(\.editMode) private var editMode
#endif
It can be used to hide properties, SwiftUI modifiers, etc.
Platform experience
Utilize each platform features
Refine choices for new expectations
Rely on SwiftUI for best practices
Refer to Human Interface Guidelines
Publish app
Just because we have a single target, it doesn’t mean we only have a single product
We’ll need to archive for each platform and upload those individually
If you’re building and archiving locally, you’ll need to select a destination that has the SDK you want to create an archive for
Once I have a destination selected, I can choose “Product Archive” to create the archive
Once my archives are complete, I can use the Organizer window in Xcode to upload them to App Store Connect


