Elevate your windowed app for spatial computing
Written by
 Cihat Gündüz
Cihat Gündüz
Description: Discover how you can bring your multiplatform SwiftUI app to visionOS and the Shared Space. We’ll show you how to add the visionOS destination to an existing app and view your app in the Simulator. Explore how your SwiftUI code automatically adapts to support the unique context and presentation of the visionOS platform. Learn how you can update custom views, improve your app's UI, and add features and controls specific to this platform.
- "As with every Apple platform, the best way to build an app is with SwiftUI"
SwiftUI in the Shared Space
- Most system applications on visionOS are written with SwiftUI
- First, add
visionOSas a new platform in "Supported Destinations" - Moving the cursor in the visionOS simulator replaces eye-tracking
- Glass is the standard background provided to windows by default
- No distinction between light and dark appearances (glass takes care of both)
- A lot of things work out of the box when your app is written in SwiftUI
Polishing your app
- Apps can be positioned everywhere, so there's no specific number of pixels – visionOS scales content dynamically
- Prefer vectors over bitmaps to allow them to scale to any size
- Make sure to check "Preserve Vector Data" in Asset catalog for vector PDF files
- Solid colors have a fixed contrast against glass and can't adjust to surroundings, so avoid them, adopt vibrancy instead
- 4 semantic styles for
.foregroundStylemodifier:.primary,.secondary,.teriarty,.quaternay - For color fills, use semantic
Color.fill.tertiaryfor example, instead ofColor.gray - 4 ways of interaction: Eyes, Hands, Pointer, Accessibility – most common is pinch gesture
- When close enough, you can simply directly touch a UI element in space
- Hover effects are crucial to make app feel responsive and give users confidence in interactions
- Standard controls have them automatically, but double-check custom views
- Add
.hoverEffect()which by default brightens views and is rectangular - Provide
contentShape(.hoverEffect, .rect(cornerRadius: 16))to change the shape of the hover - But consider simply wrapping custom views into a
ButtonofbuttonStyle(.plain) - Hover effects were built for privacy – they are "the only way to make your app react to where people are looking"
- App is only told about "tap" or "hover" action, nothing else
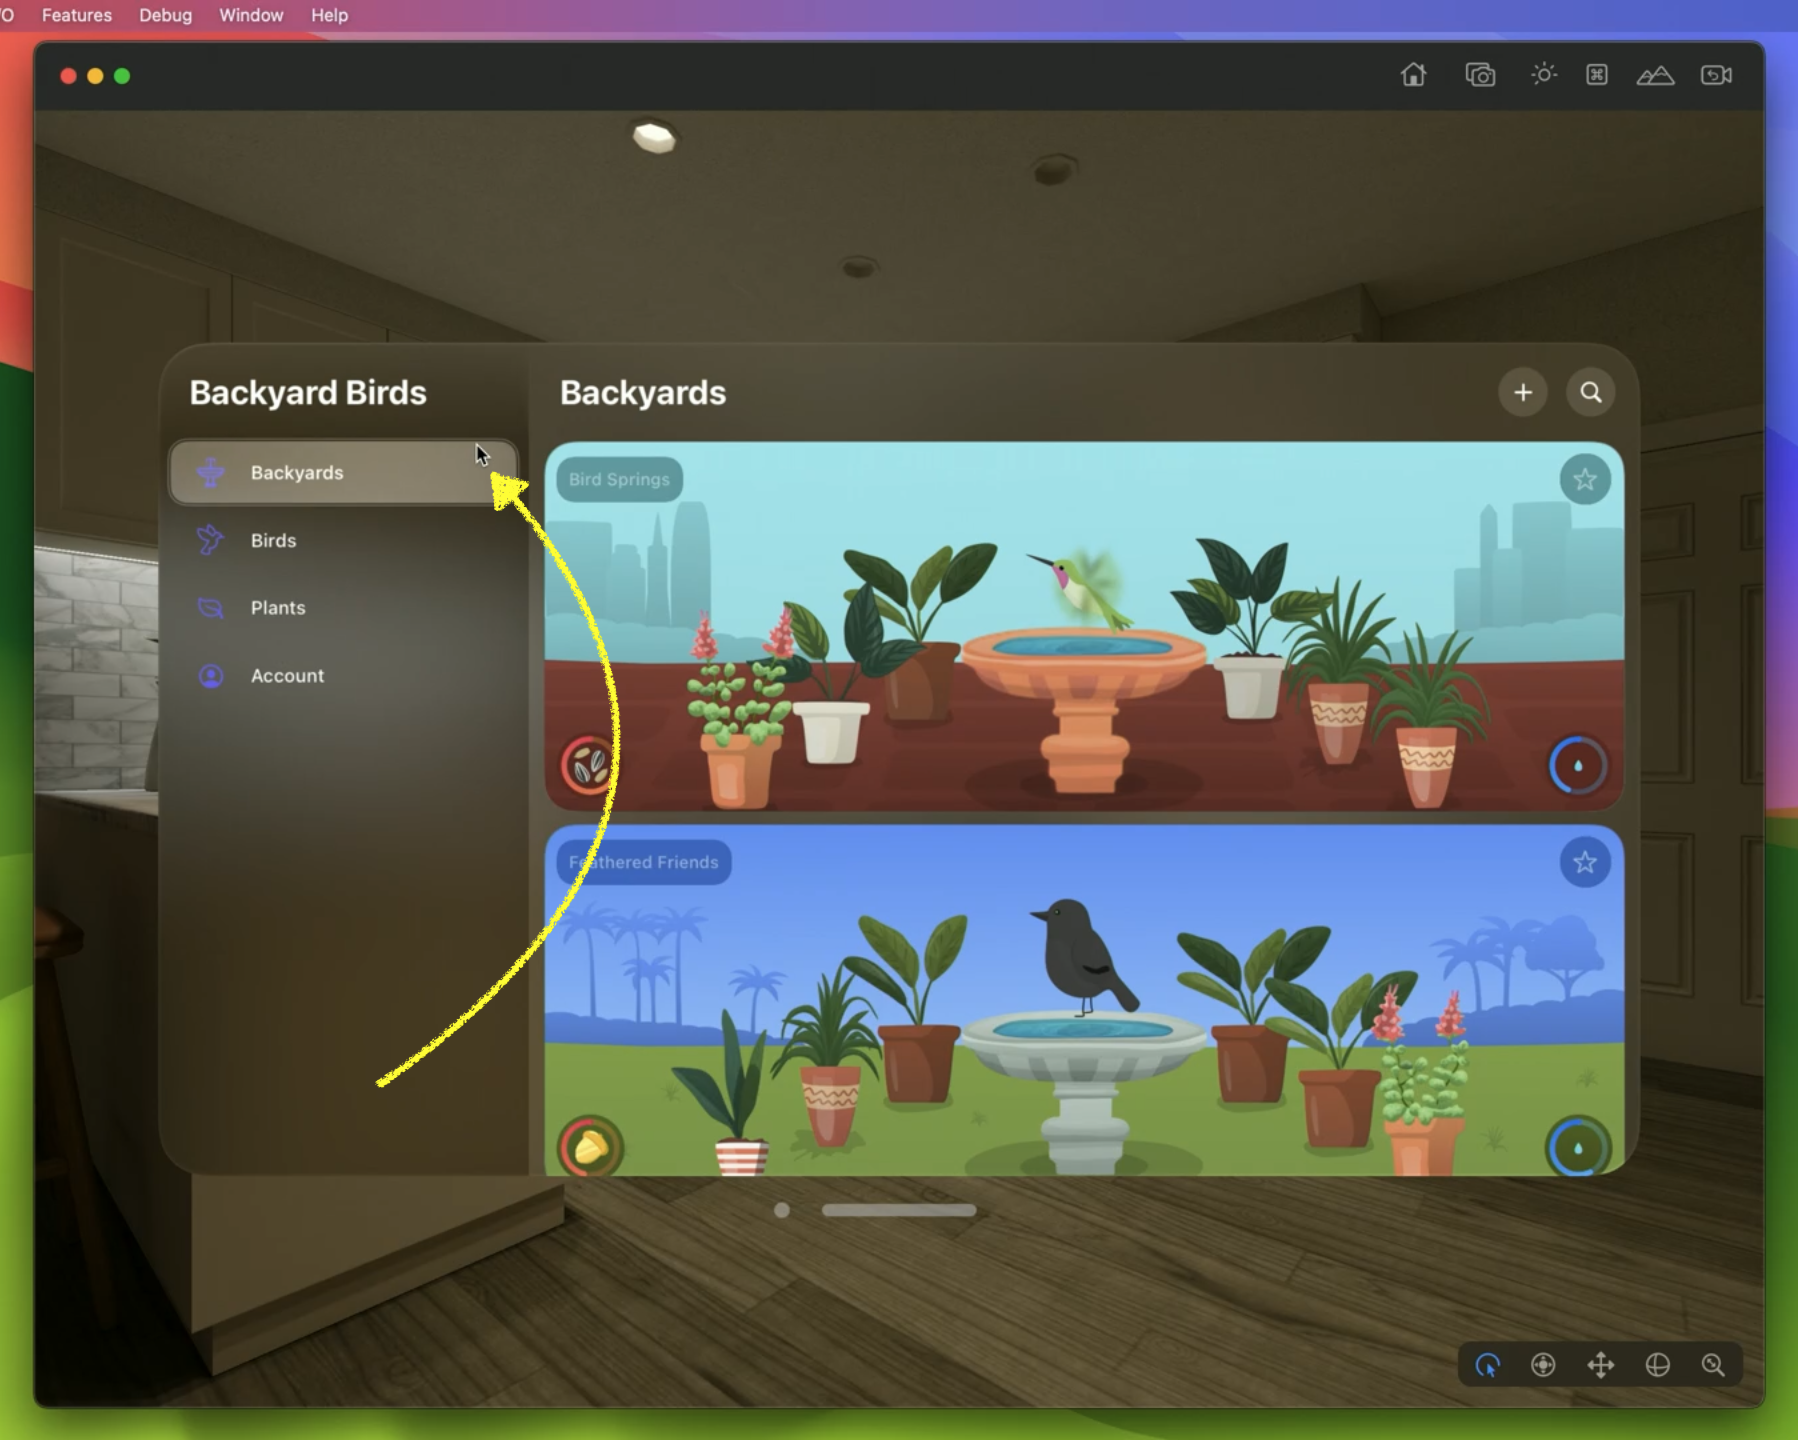
Brand new concepts
- iPad encourages sidebars, on visionOS consider a TabView (on the left) to switch between top-level views instead
- Toolbar ornaments should be commonly used, simple to add:
.toolbar { ToolBarItem(placement: .bottomOrnament) { ... } }
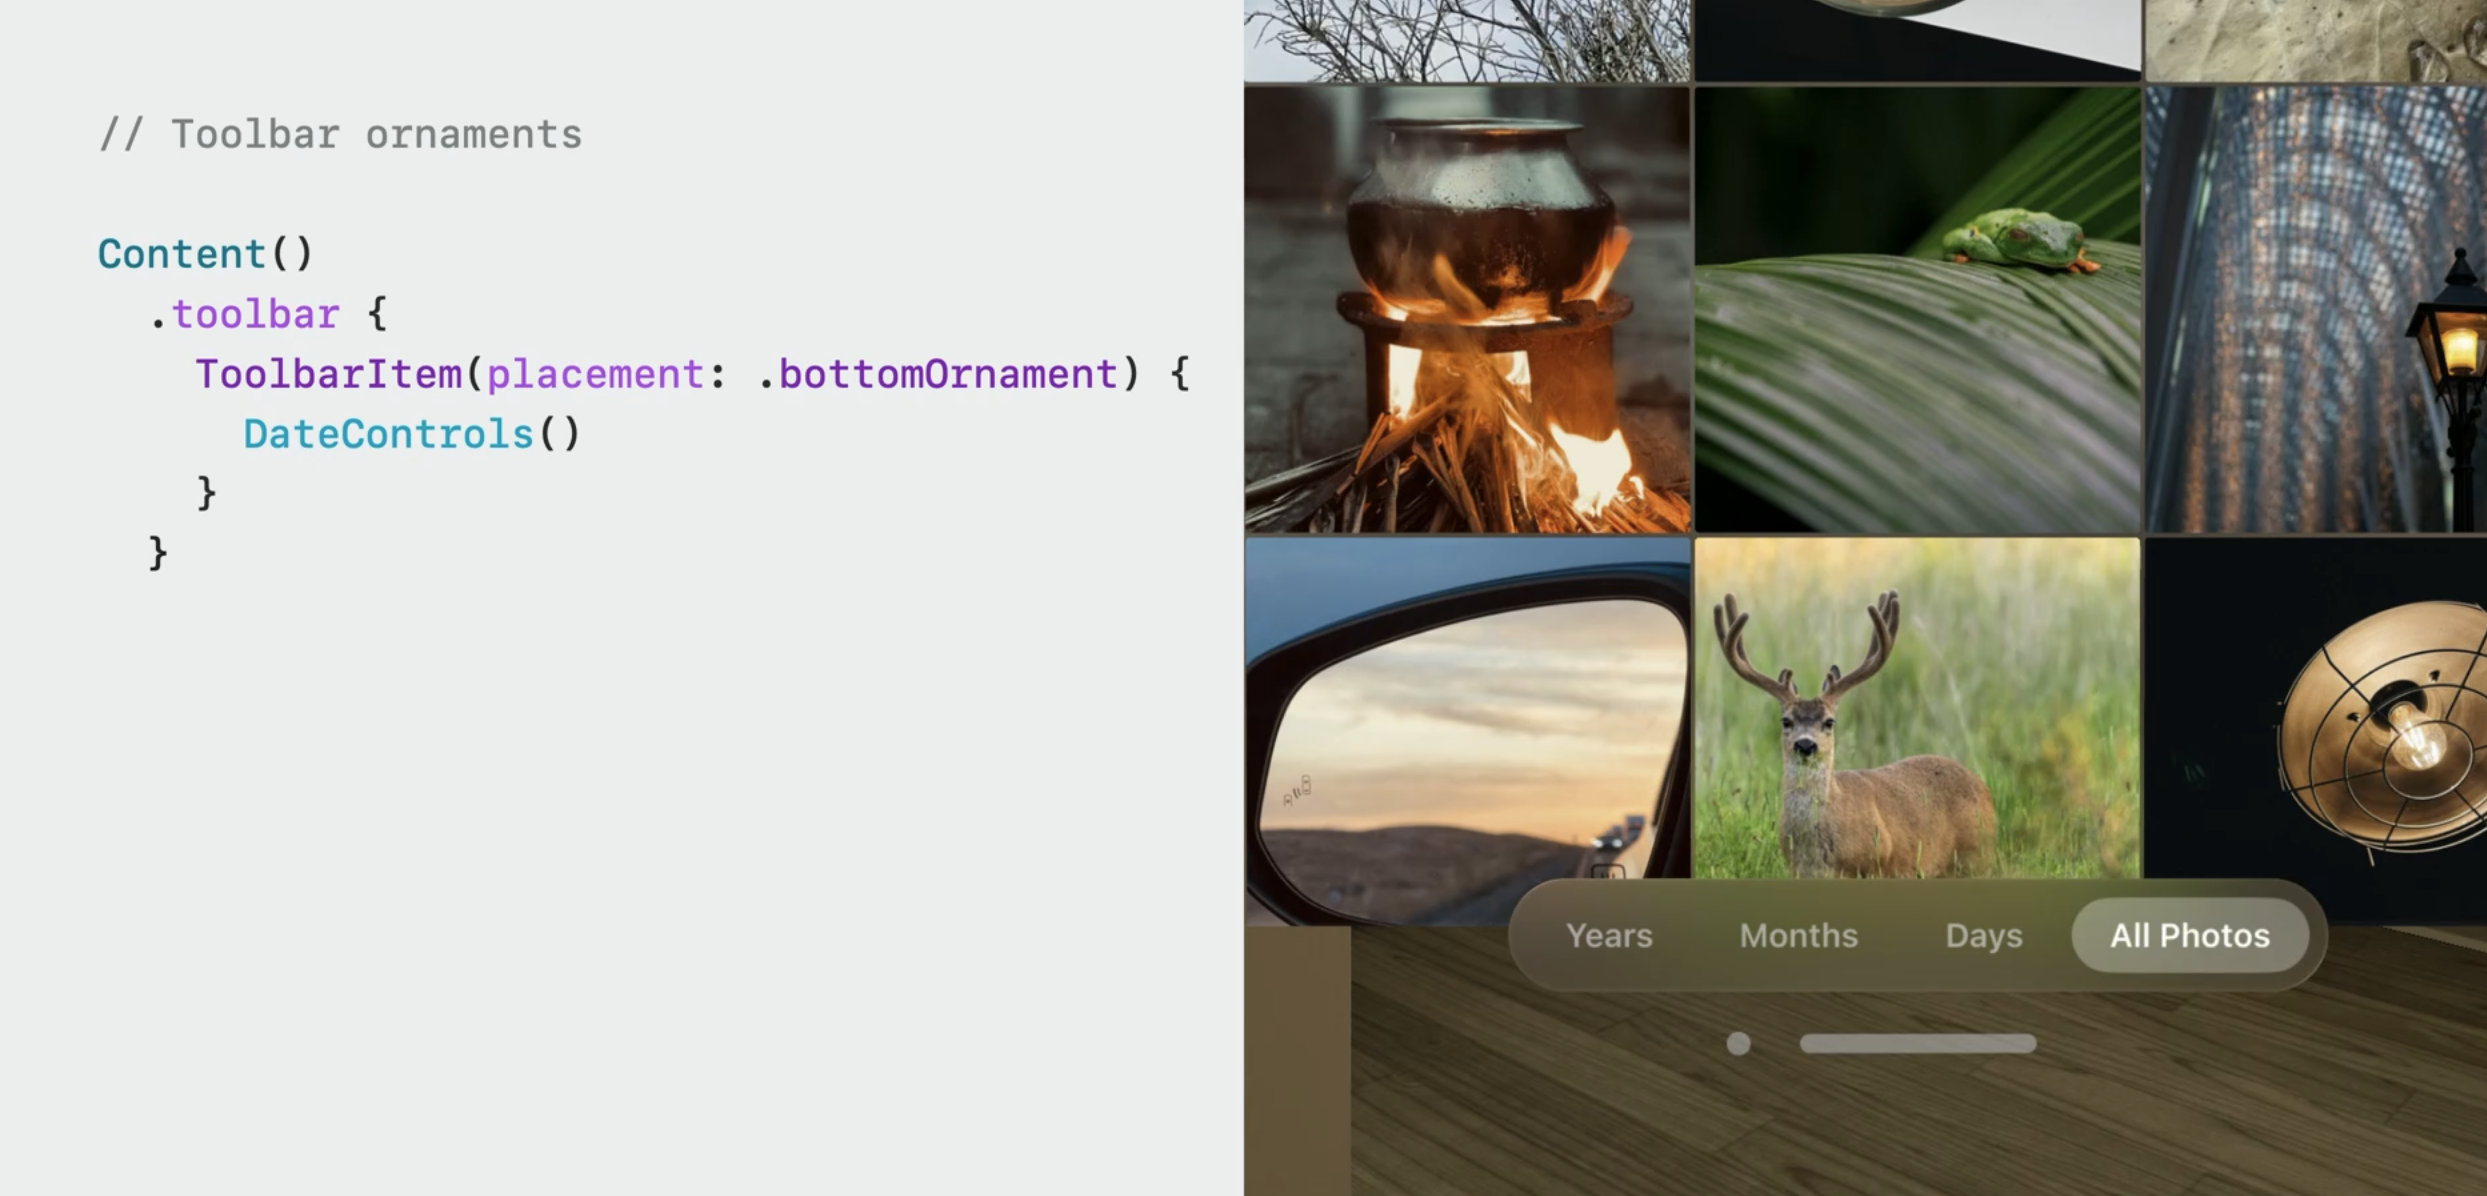
- Toolbar ornaments provide a glass capsule background automatically
- Custom ornaments can be provided via
.ornament(attachmentAnchor: .scene(alignment: .bottom), contentAlignment: .center) - SwiftUI does not give custom ornaments a glass background by default, to opt-in, use:
.glassBackgroundEffect(in: .capsule)
 Twitter
 GitHub
 fline.dev