What’s new in ScreenCaptureKit
Written by
 Cihat Gündüz
Cihat Gündüz
Description: Level up your screen sharing experience with the latest features in ScreenCaptureKit. Explore the built-in system picker, Presenter Overlay, and screenshot capabilities, and learn how to incorporate these features into your existing ScreenCaptureKit app or game.
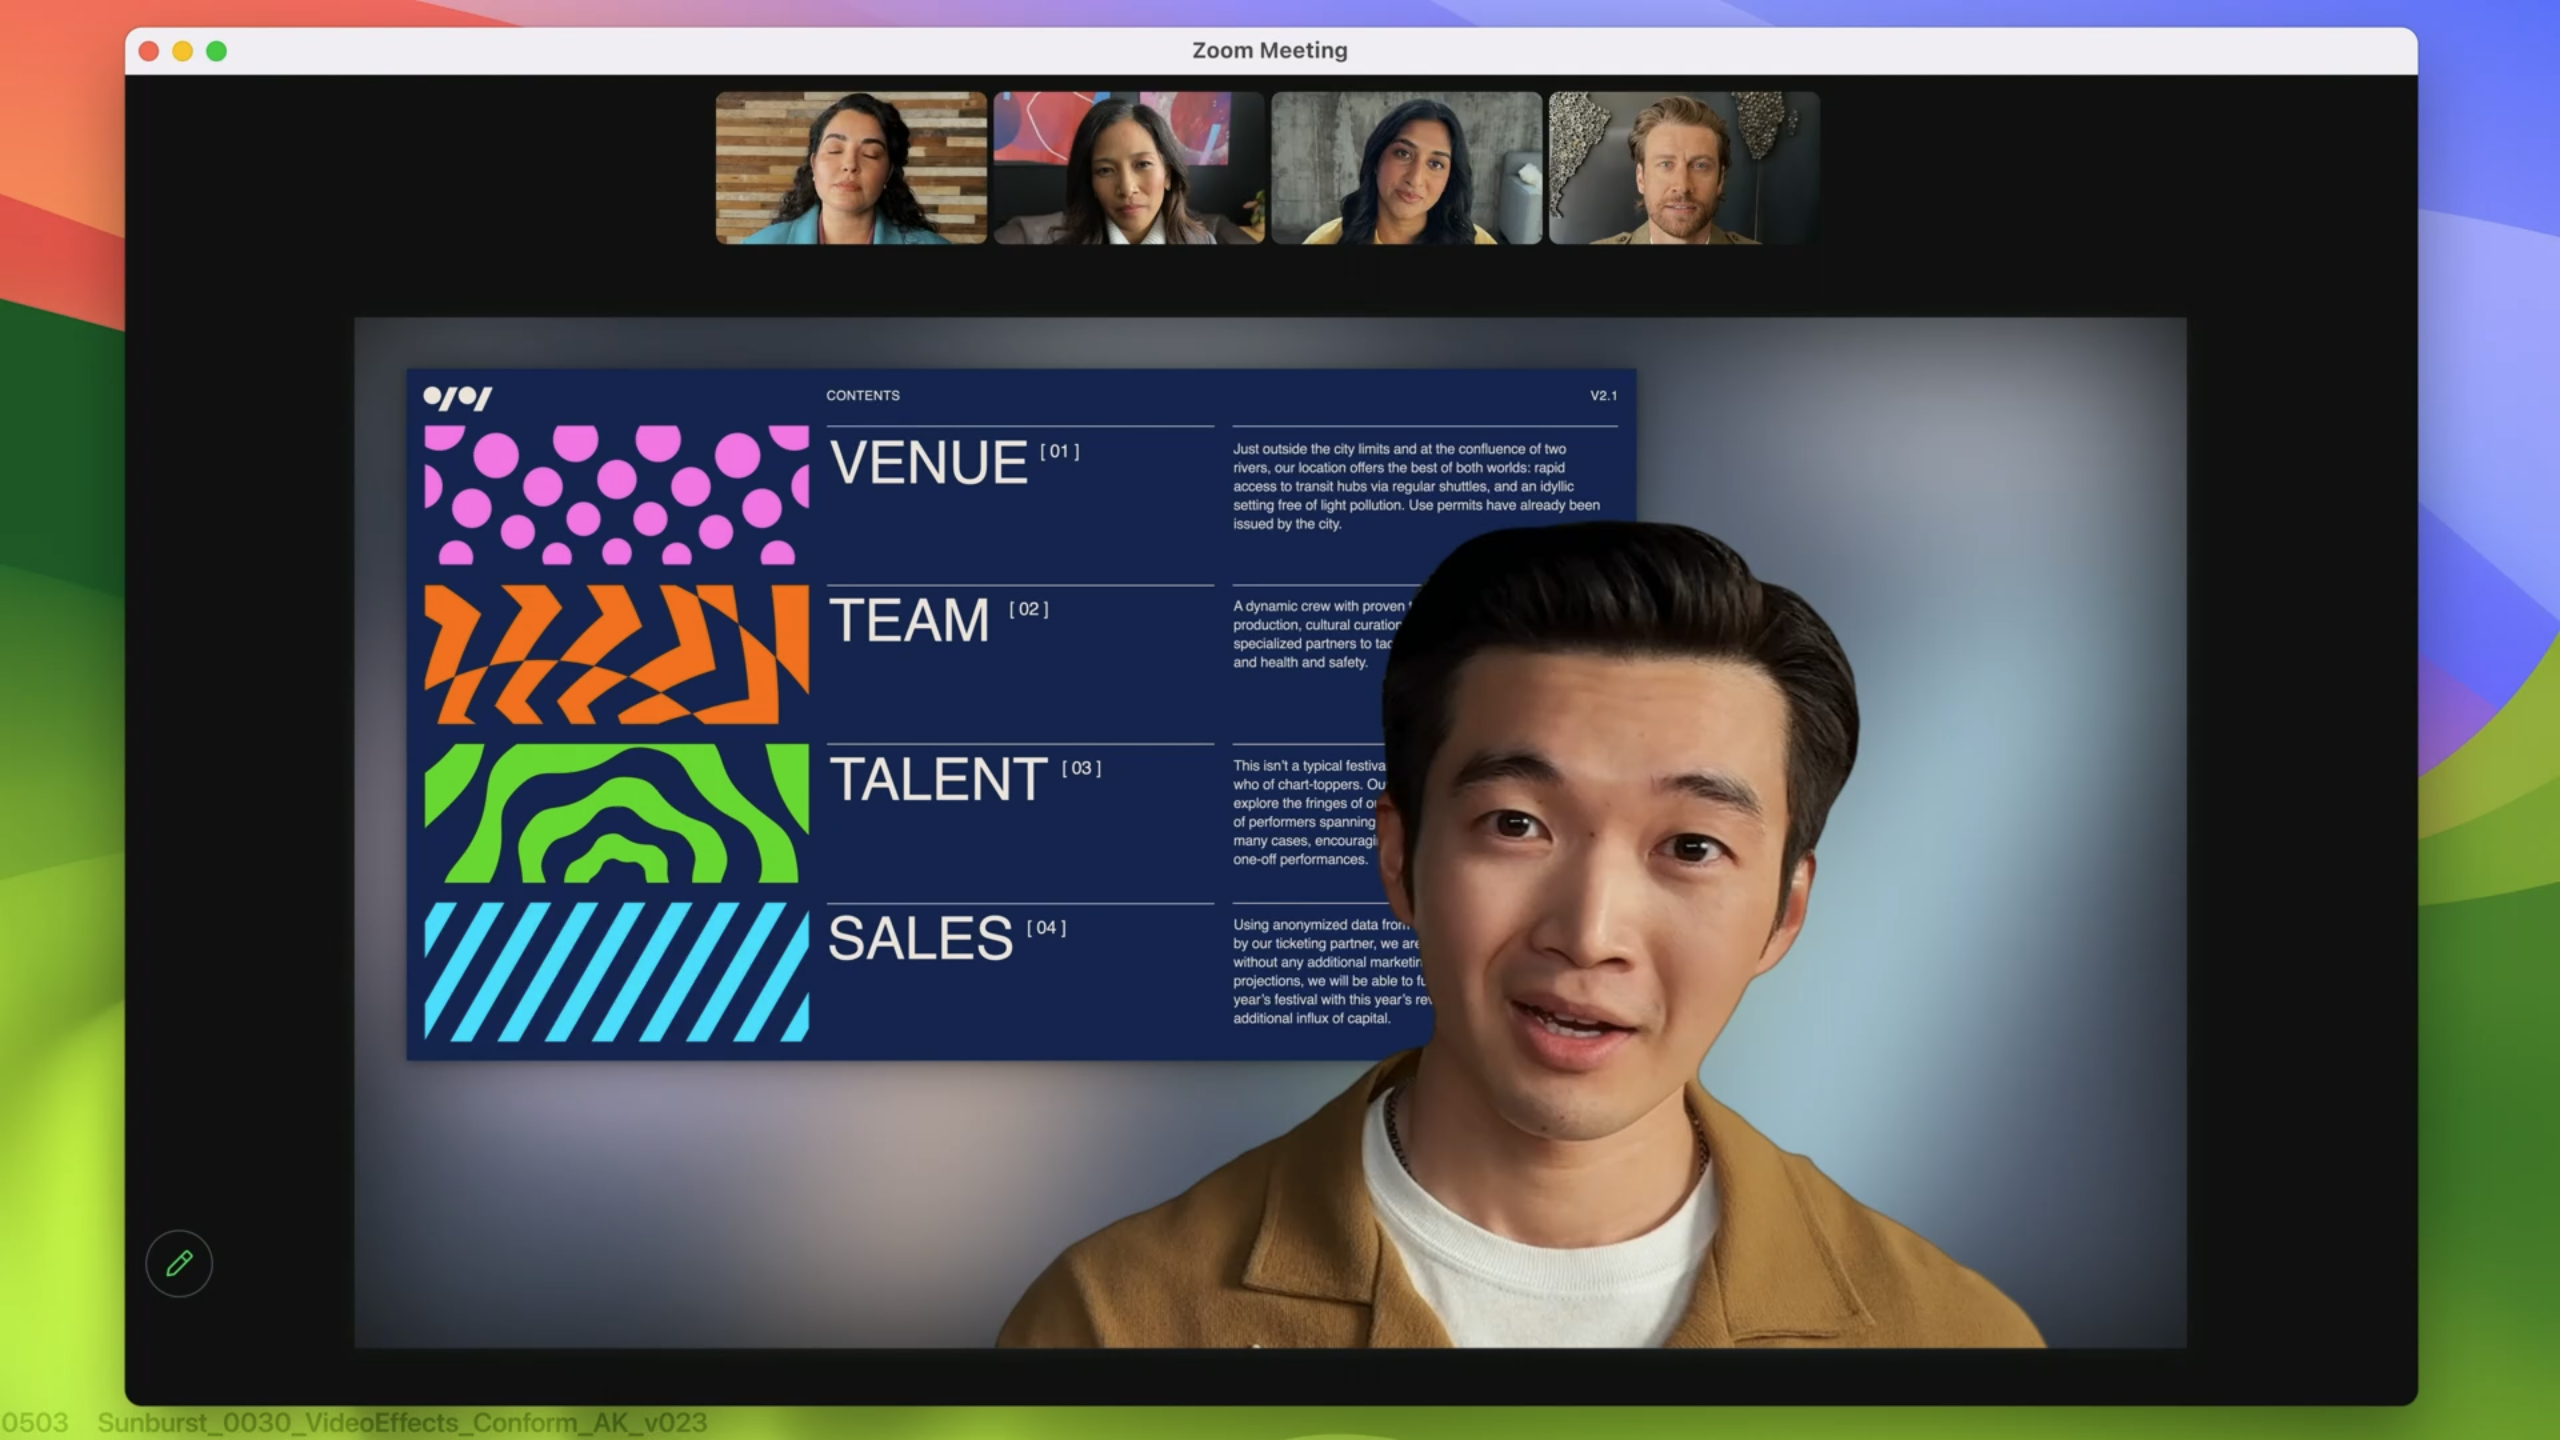
Presenter Overlay
- Elevates the presenters presence by including presenter on top of shared content
- Small overlay: Places presenter in a movable window

- Large overlay: Separates the presenters face & body from the background & layers screen content between them (more immersive)
- Overlay integrated in
SCStream– video menu bar will show automatically, user controls sharing there
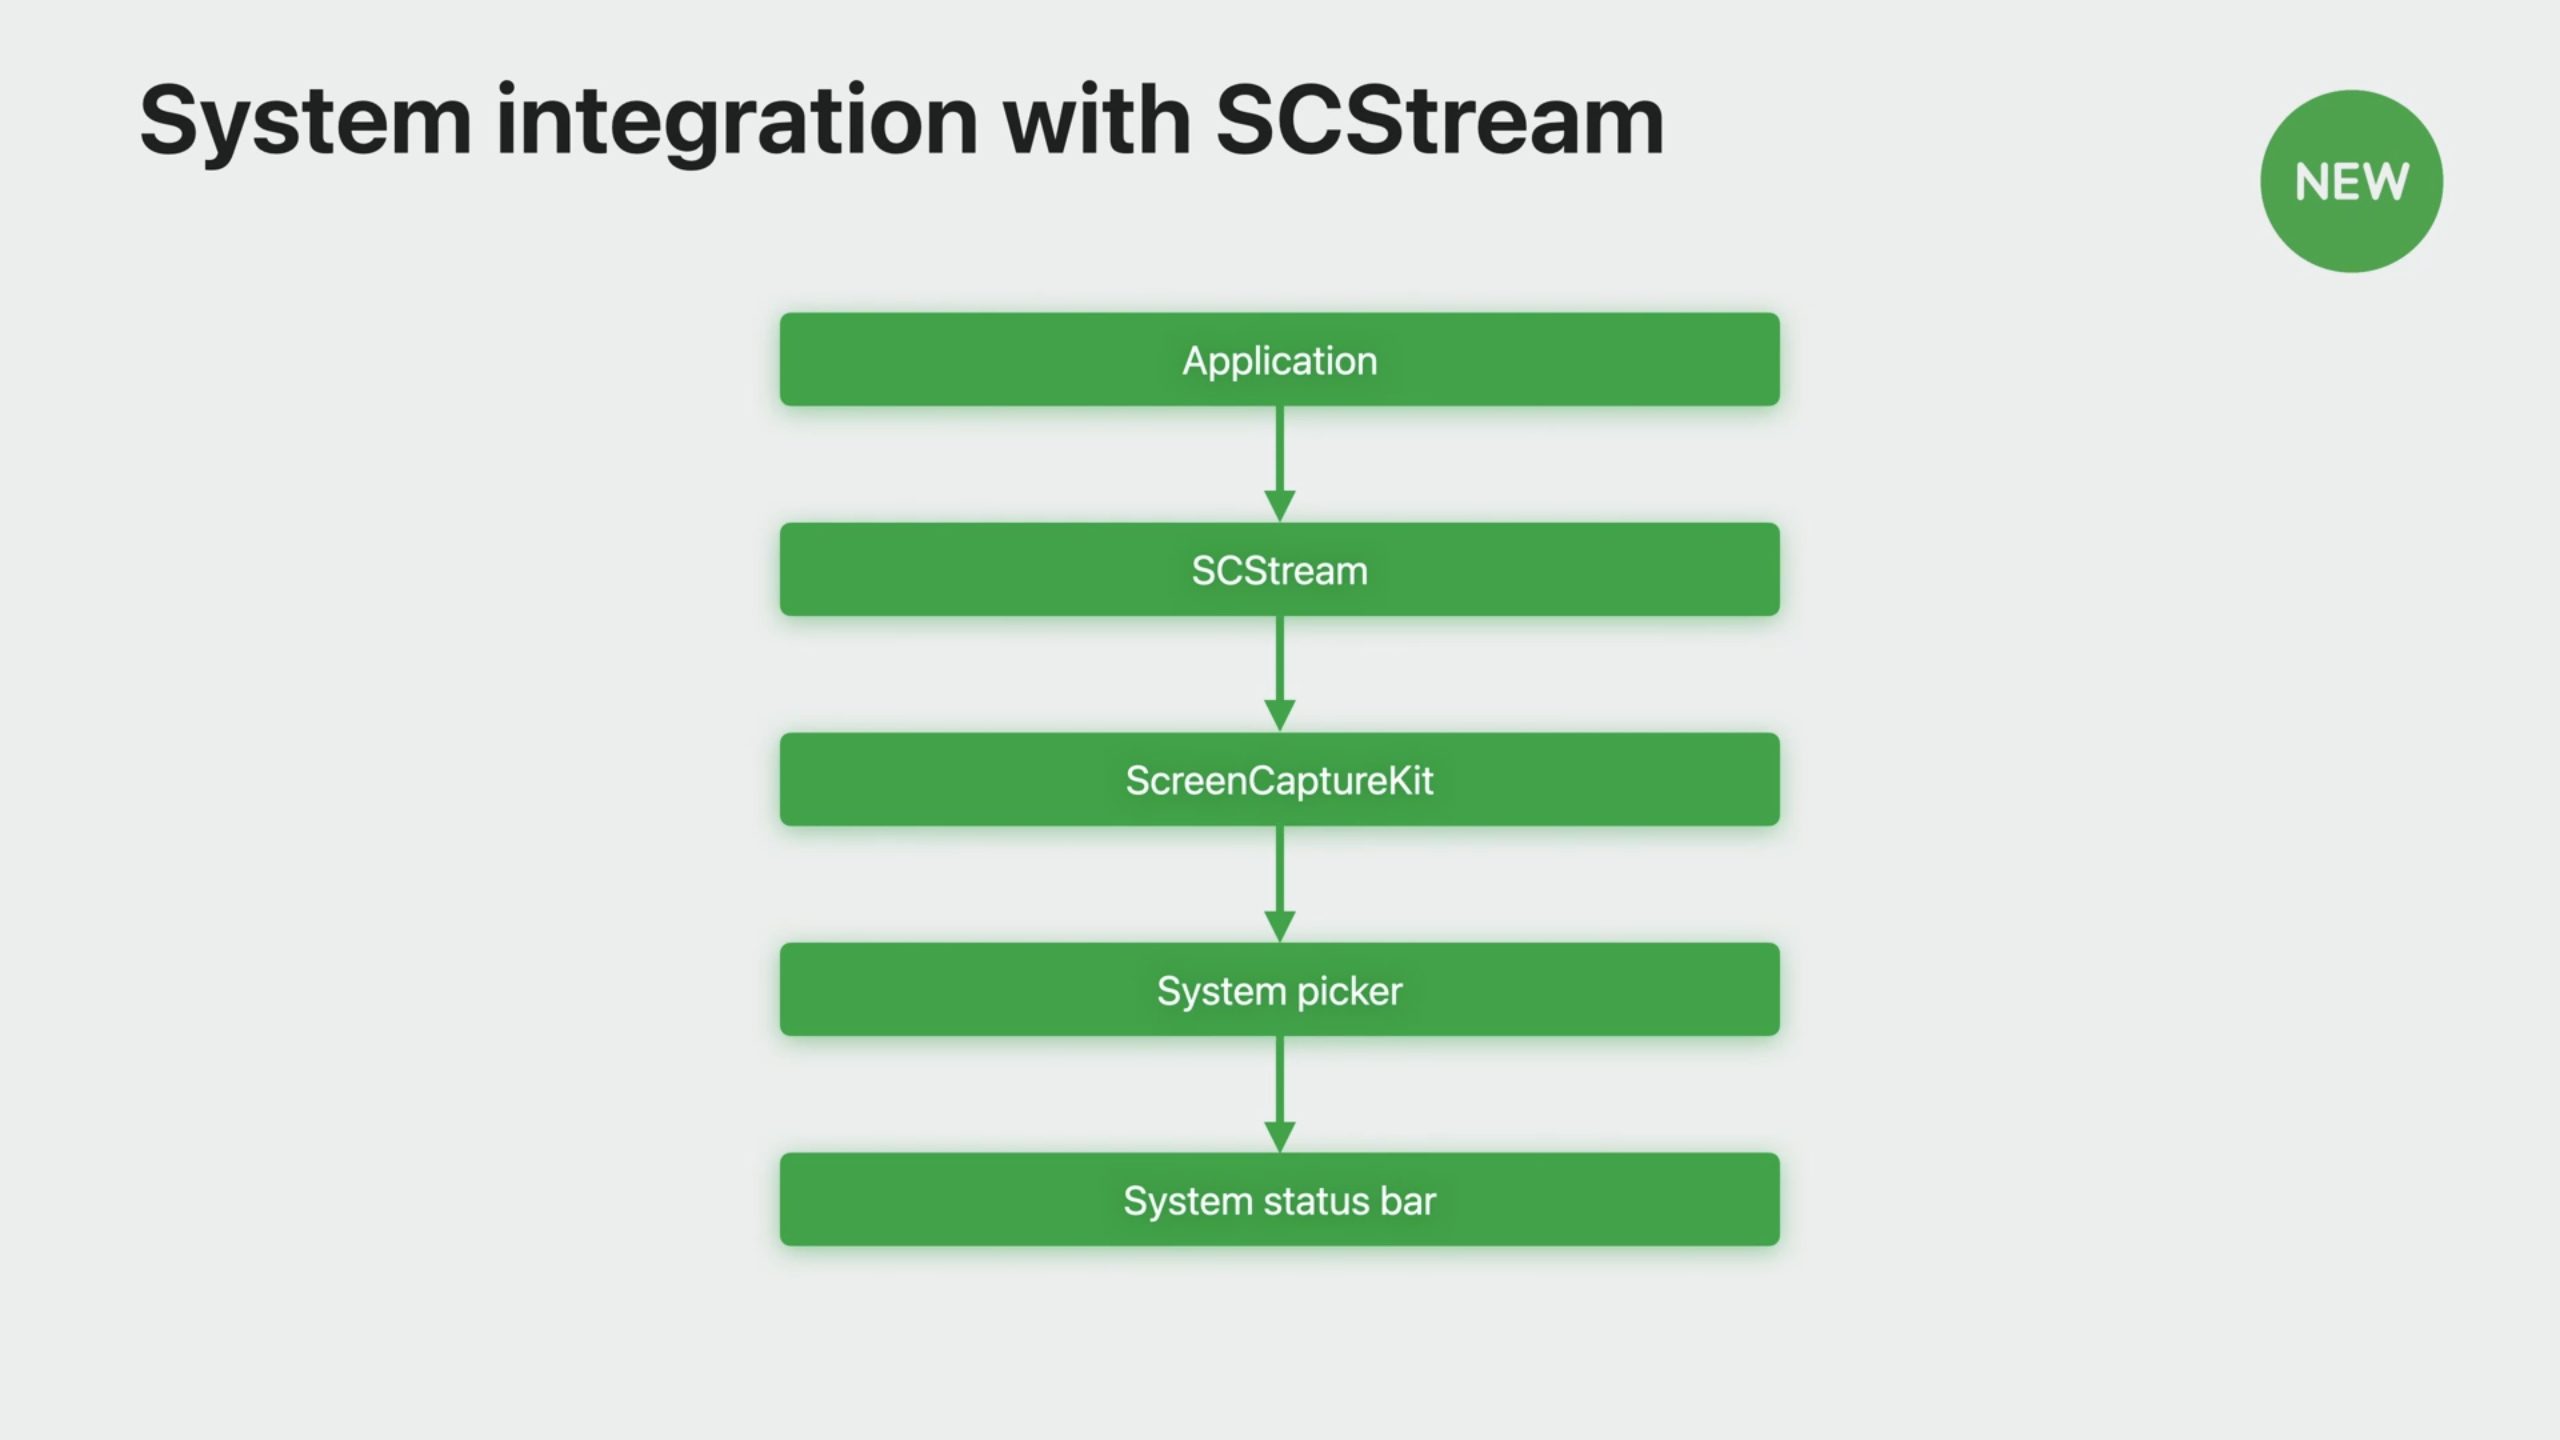
- User can control the stream there & customize things like camera / microphone effects
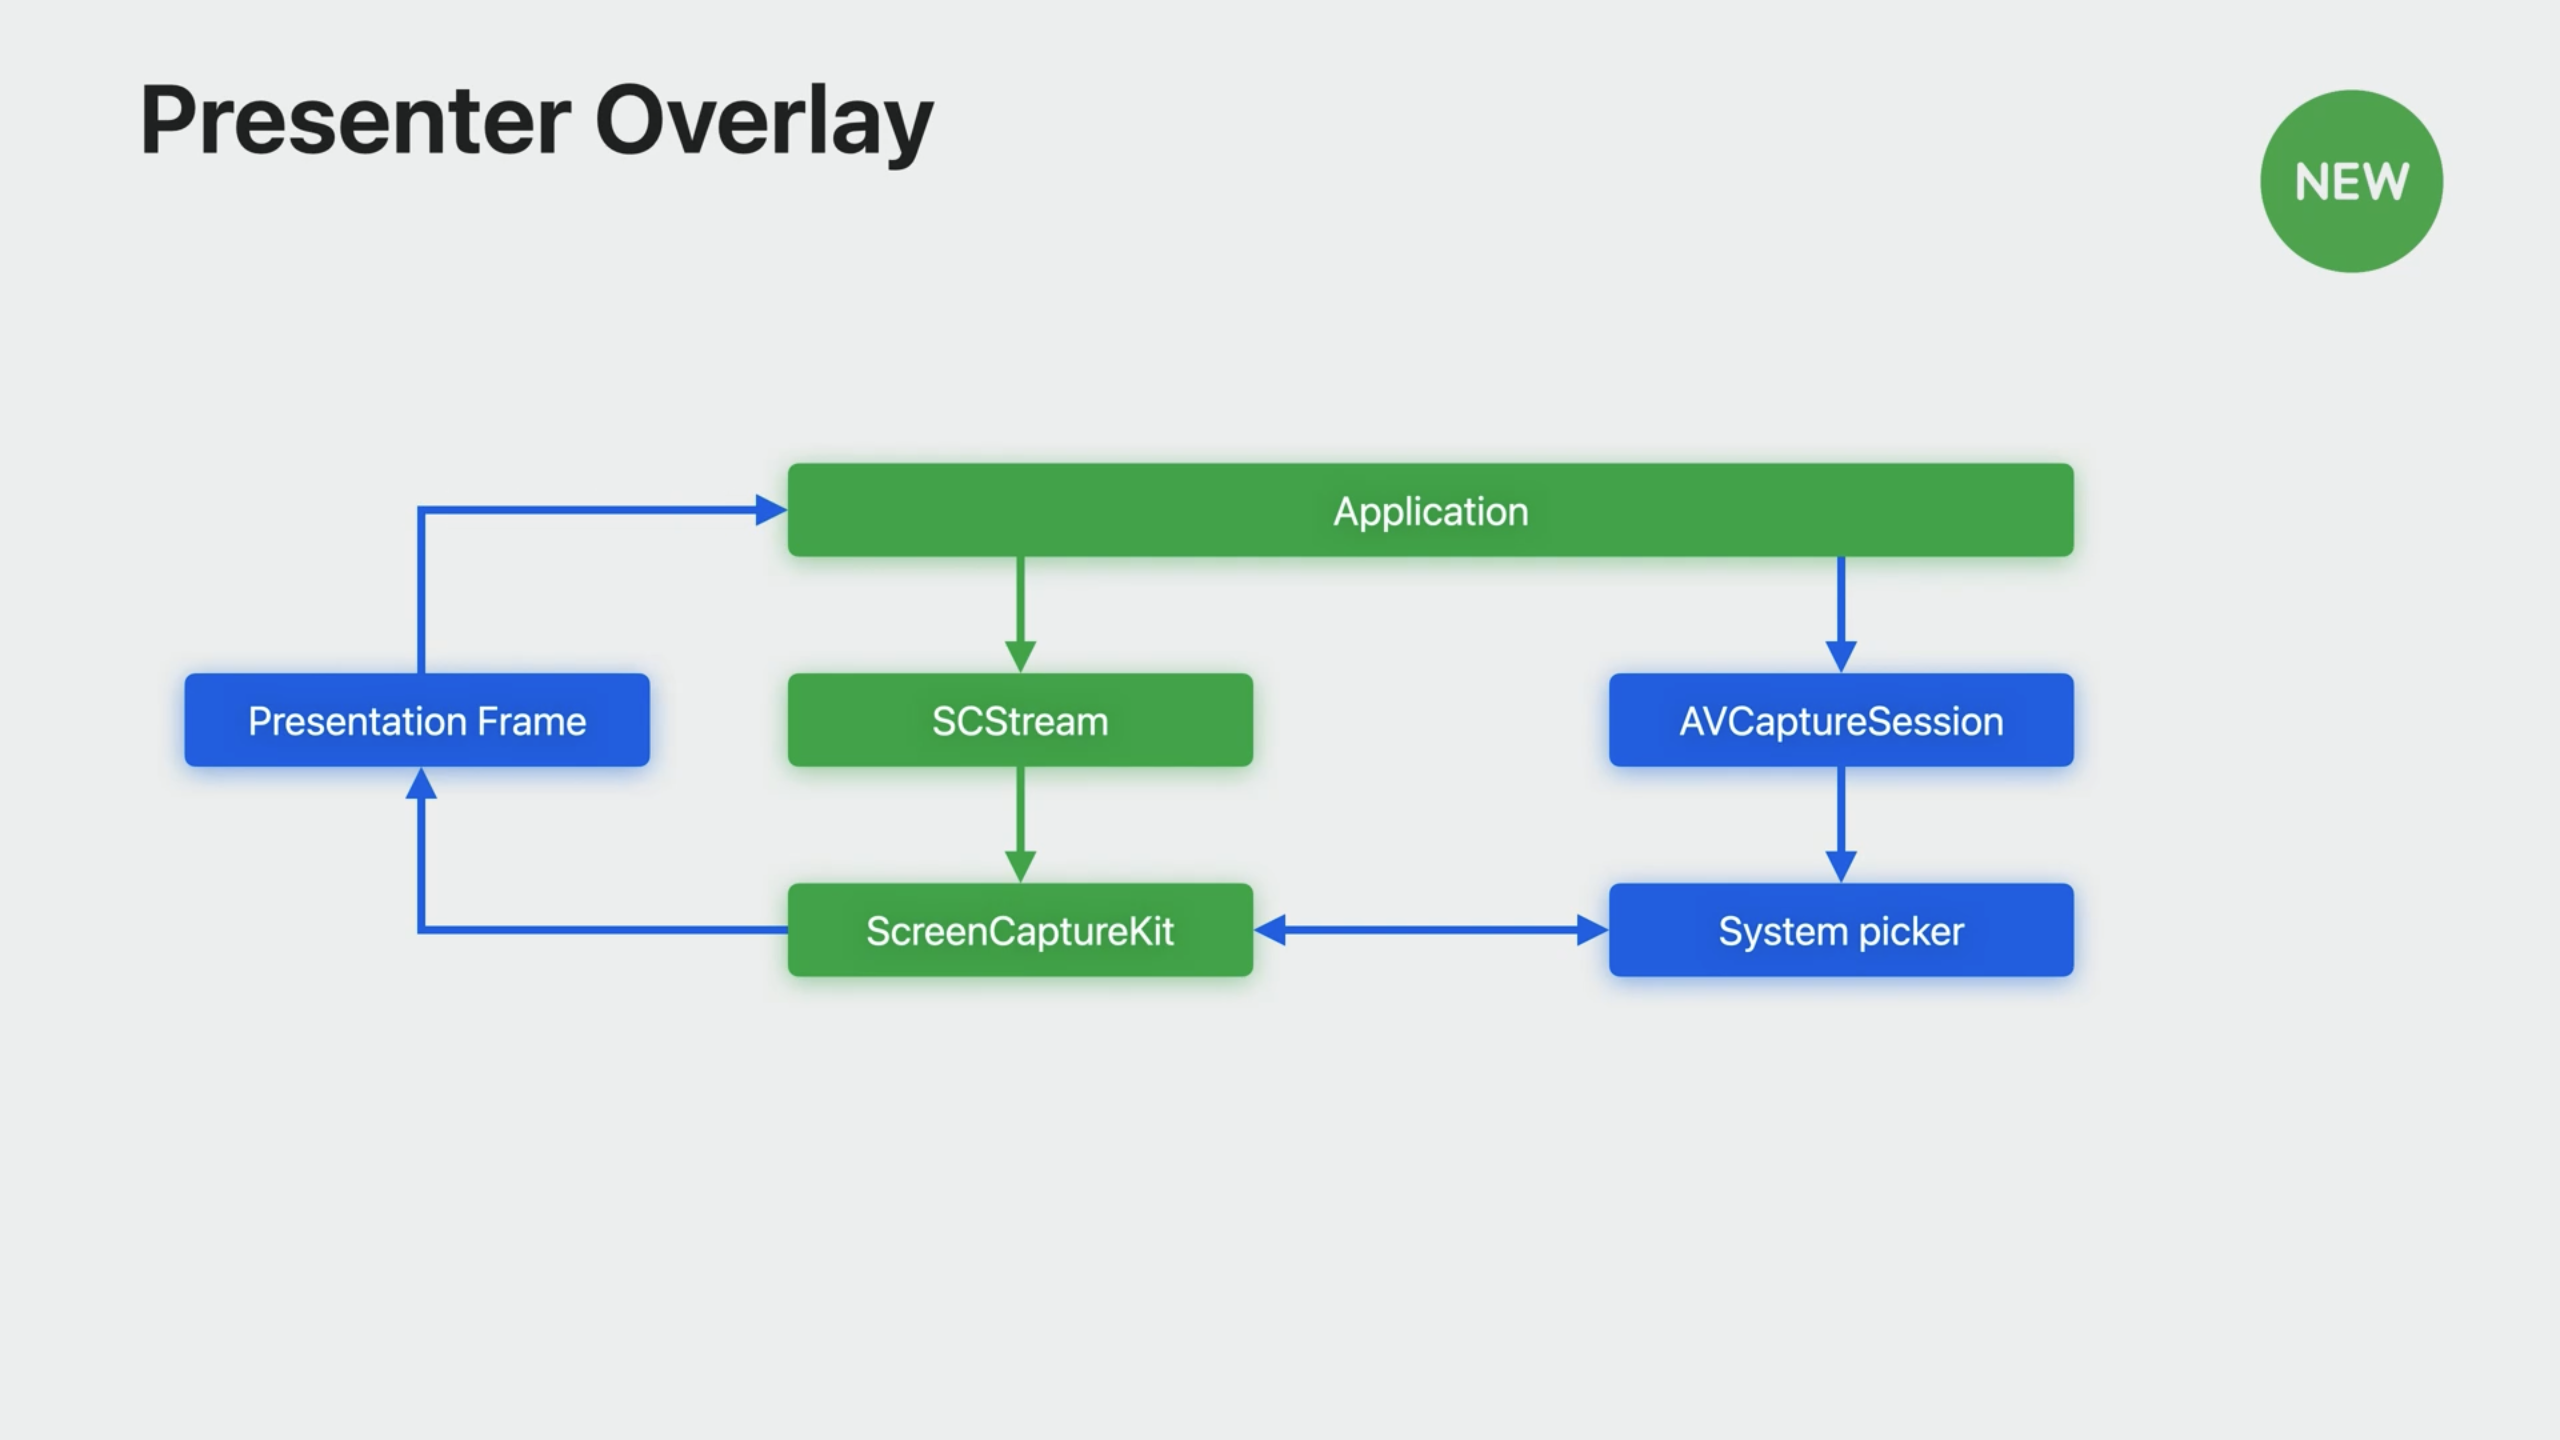
- Currently content frames sent to its process from ScreenCaptureKit
- Now when camera is started overlay available in video menu item
- ScreenCaptureKit will take the camera and apply the rendering to the selected stream – composite frames are automatic
- Apps get notified about presenter overlay started/stopped via
SCStreamdelegate methodstream(_:outputEffectDidStart:) - Considerations to take: Hide camera view when turned on, update app UI, optimize experience (higher frame rates)
Screen sharing picker
SCContentFilterfromSCShareableContentused, new: get content filter from the picker- Content can now also be picked from window menu directly
- New
SCContentSharingPickeracts as interface between app and OS - Built-in system-level content picker
- Comes with per-stream customization
Usage example:
// Set up content sharing picker instance
let picker = SCContentSharingPicker.shared()
picker.addObserver(self)
picker.active = true

// show system level picker button
func showSystemPicker(sender: UIButton!) {
    picker.present(for stream: nil, using contentStyle:.window)
}

// observer call back for picker
func contentSharingPicker(_ picker: SCContentSharingPicker, didUpdateWith filter:
SCContentFilter, for stream: SCStream?) {
   if let stream = stream {
        stream.updateContentFilter(filter)
    } else {
        let stream = SCStream(filter: filter, configuration: config, delegate: self)
    }
}
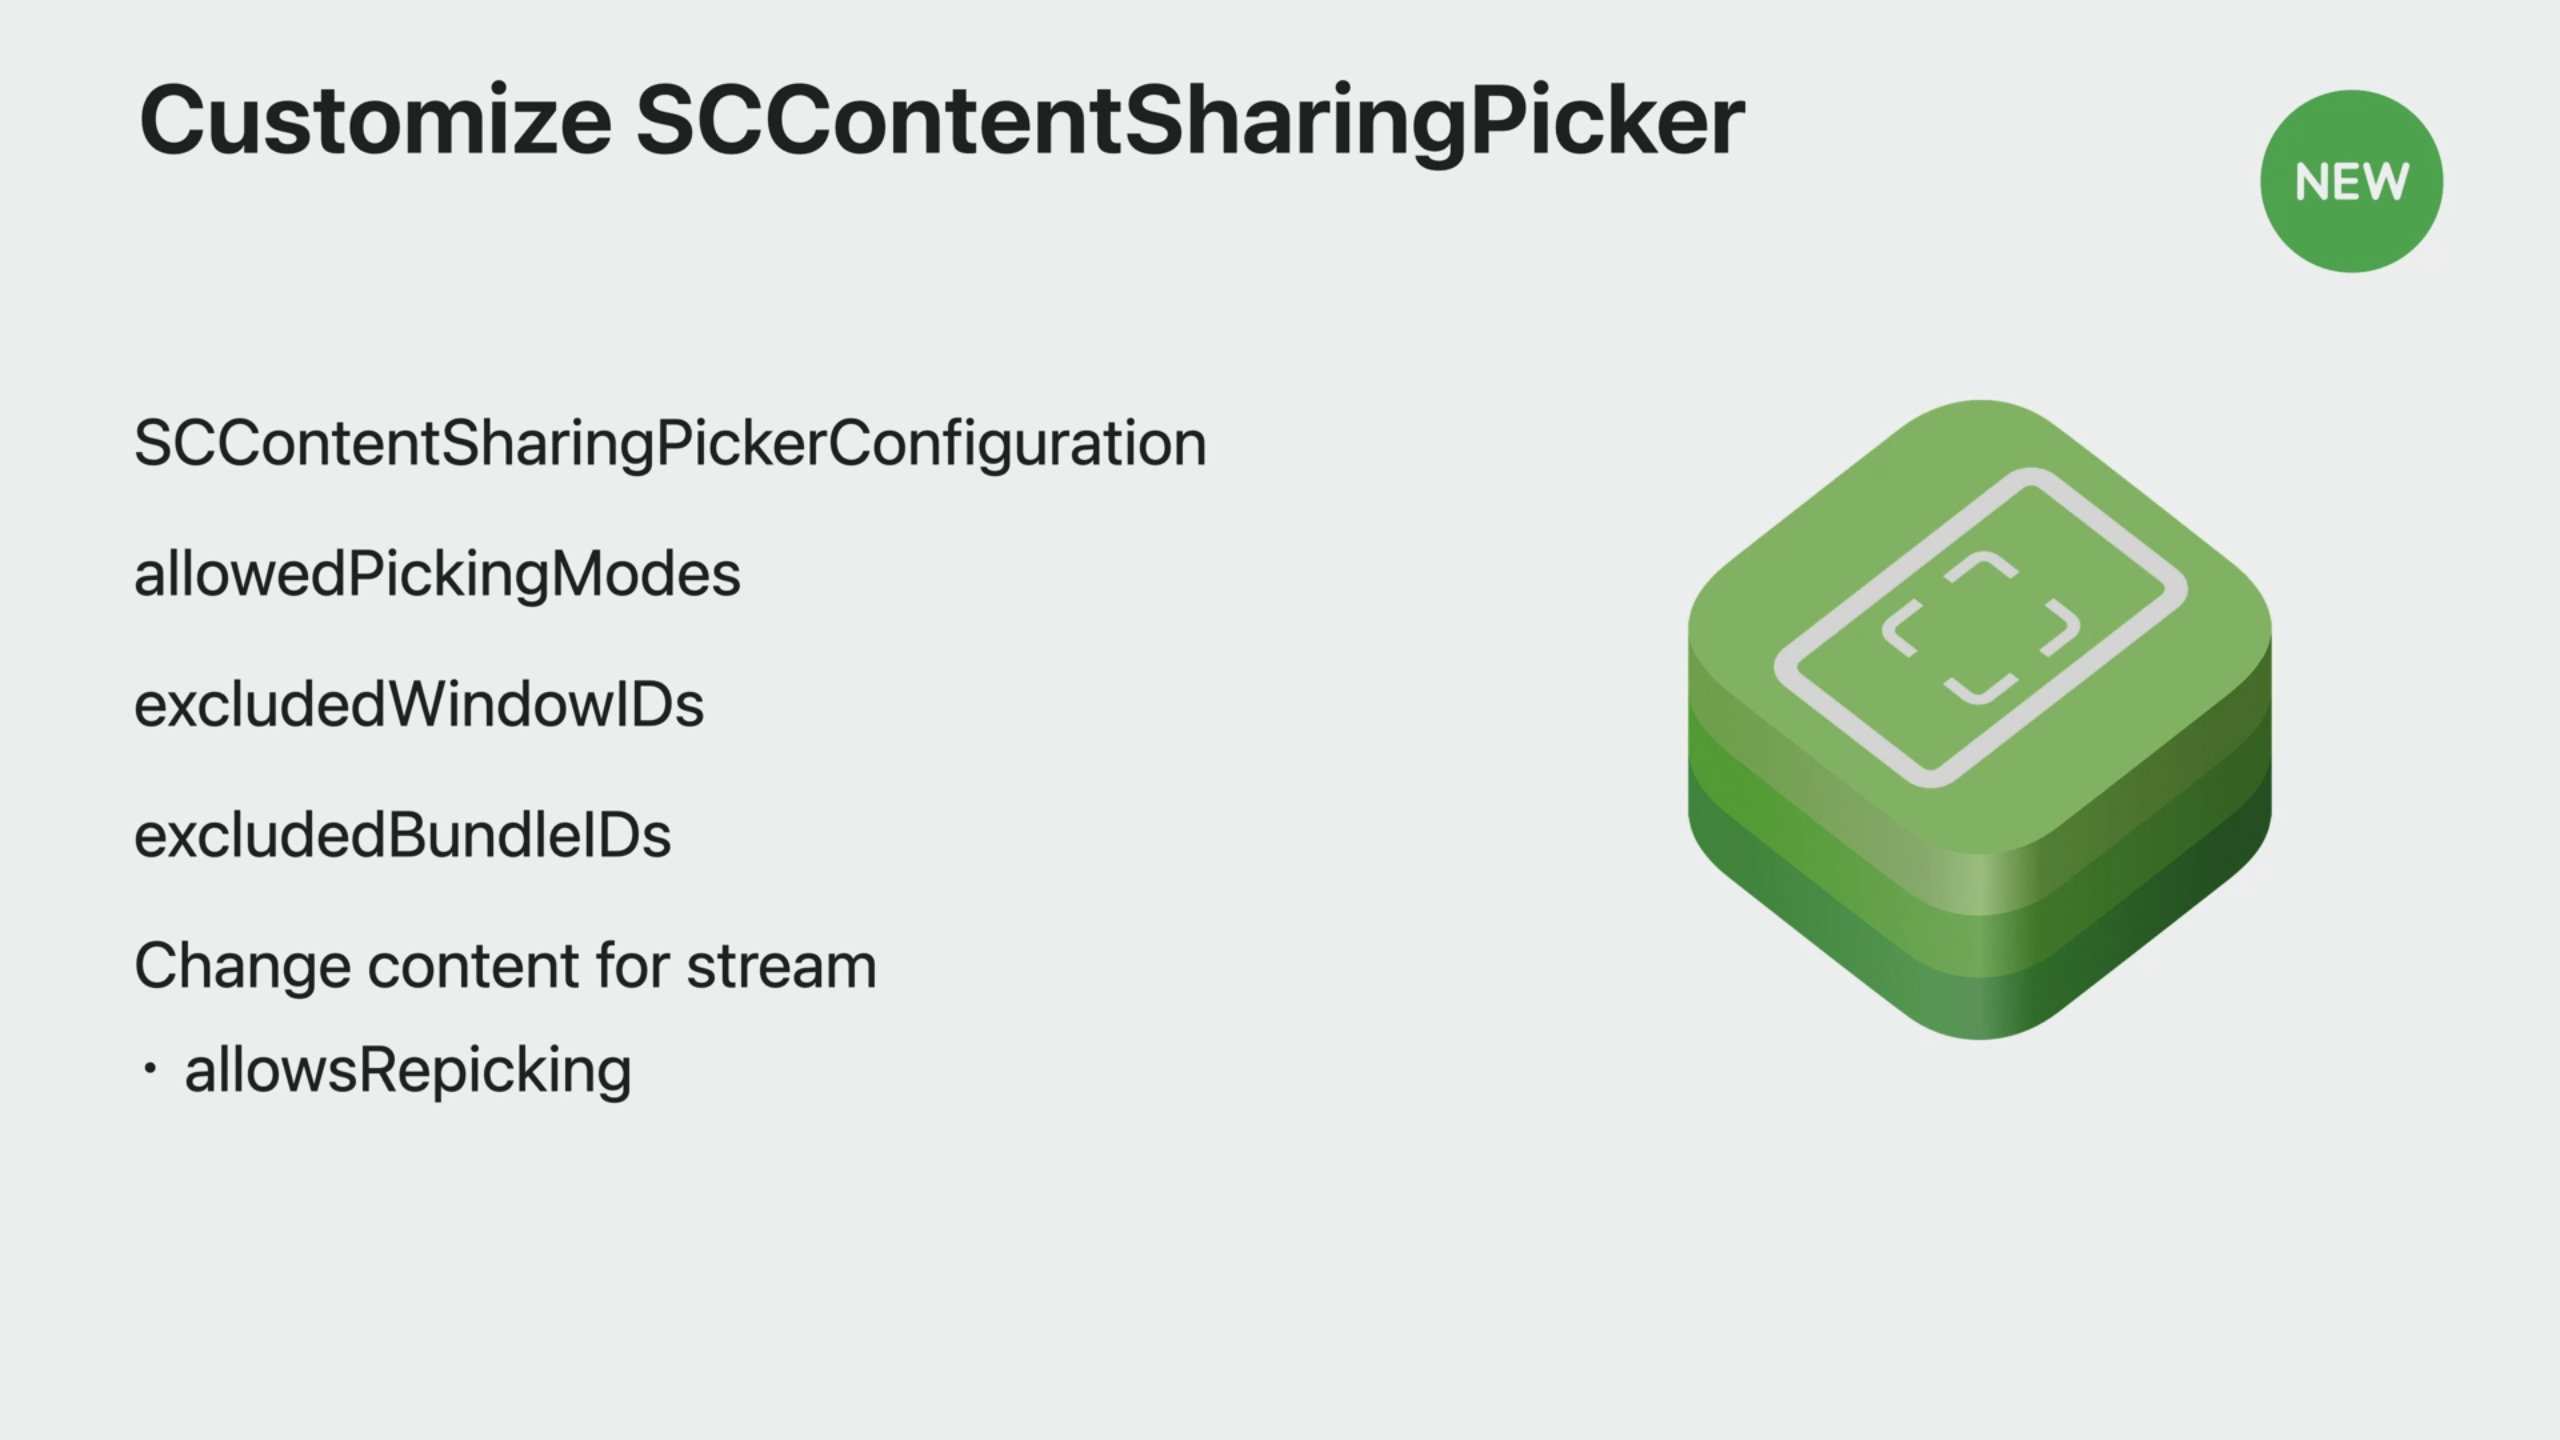
- There are also
didFailWith erroranddidCancel for streamdelegate methods - Use
SCContentSharingPickerConfigurationwith options likeexcludedBundleIDsorallowsRepickingto configure
Screenshot
- Features like advanced rendering by app or window, multiple pixel formats & color spaces, cursor visibility etc. are available
- New API is asynchronous, choose between
CMSampleBuffer(has format options) andCGImage - Similar options & setup flow as screen capture
- Transition from
CGWindowListCreateImageby using options inSCStreamConfiguration - List options provided in
SCShareableContent - There's a
CGImageoutput format to migrate - To start, use
SCShareableContentwithSCContentFilterandSCStreamConfiguration - Then call
SCScreenshotManager.captureScreenshotclass method to receive a screenshot - You can also use the new system picker to create the
SCContentFilterinstead ofSCShareableContent
Taking a screenshot:
// Don't forget to customize the content you want in your screenshot
// Use SCShareableContent or SCContentSharingPicker to pick your content
let display = nil;

// Create your SCContentFilter and SCStreamConfiguration
// Customize these lines to use the content you want and desired config options
let myContentFilter = SCContentFilter(display: display,
                             excludingApplications: [],
                             exceptingWindows: []);
let myConfiguration = SCStreamConfiguration();

// Call the screenshot API and get your screenshot image
if let screenshot = try? await SCScreenshotManager.capture<#SampleBuffer|Image#>(contentFilter: myContentFilter, configuration:
                                                       myConfiguration) {
    print("Fetched screenshot.")
} else {
    print("Failed to fetch screenshot.")
}
 Twitter
 GitHub
 fline.dev